
Skip to content

How It Works

How to Create Your Graevents Invitation

Four simple steps, from your first sign up to a stress-free event day.

  1. 1Register
  2. 2Personalize
  3. 3Publish & Share
  4. 4Manage Guests
  1. 1Step 1

    Register for Free

    Create your free Graevents account and start building your event invitation in just a few clicks.

    A sealed Graevents invitation envelopeFree

    Your invitation starts here

  2. 2Step 2

    Make It Yours

    Choose your theme, add your photos, and personalize your event details, colors, fonts, and other invitation sections.

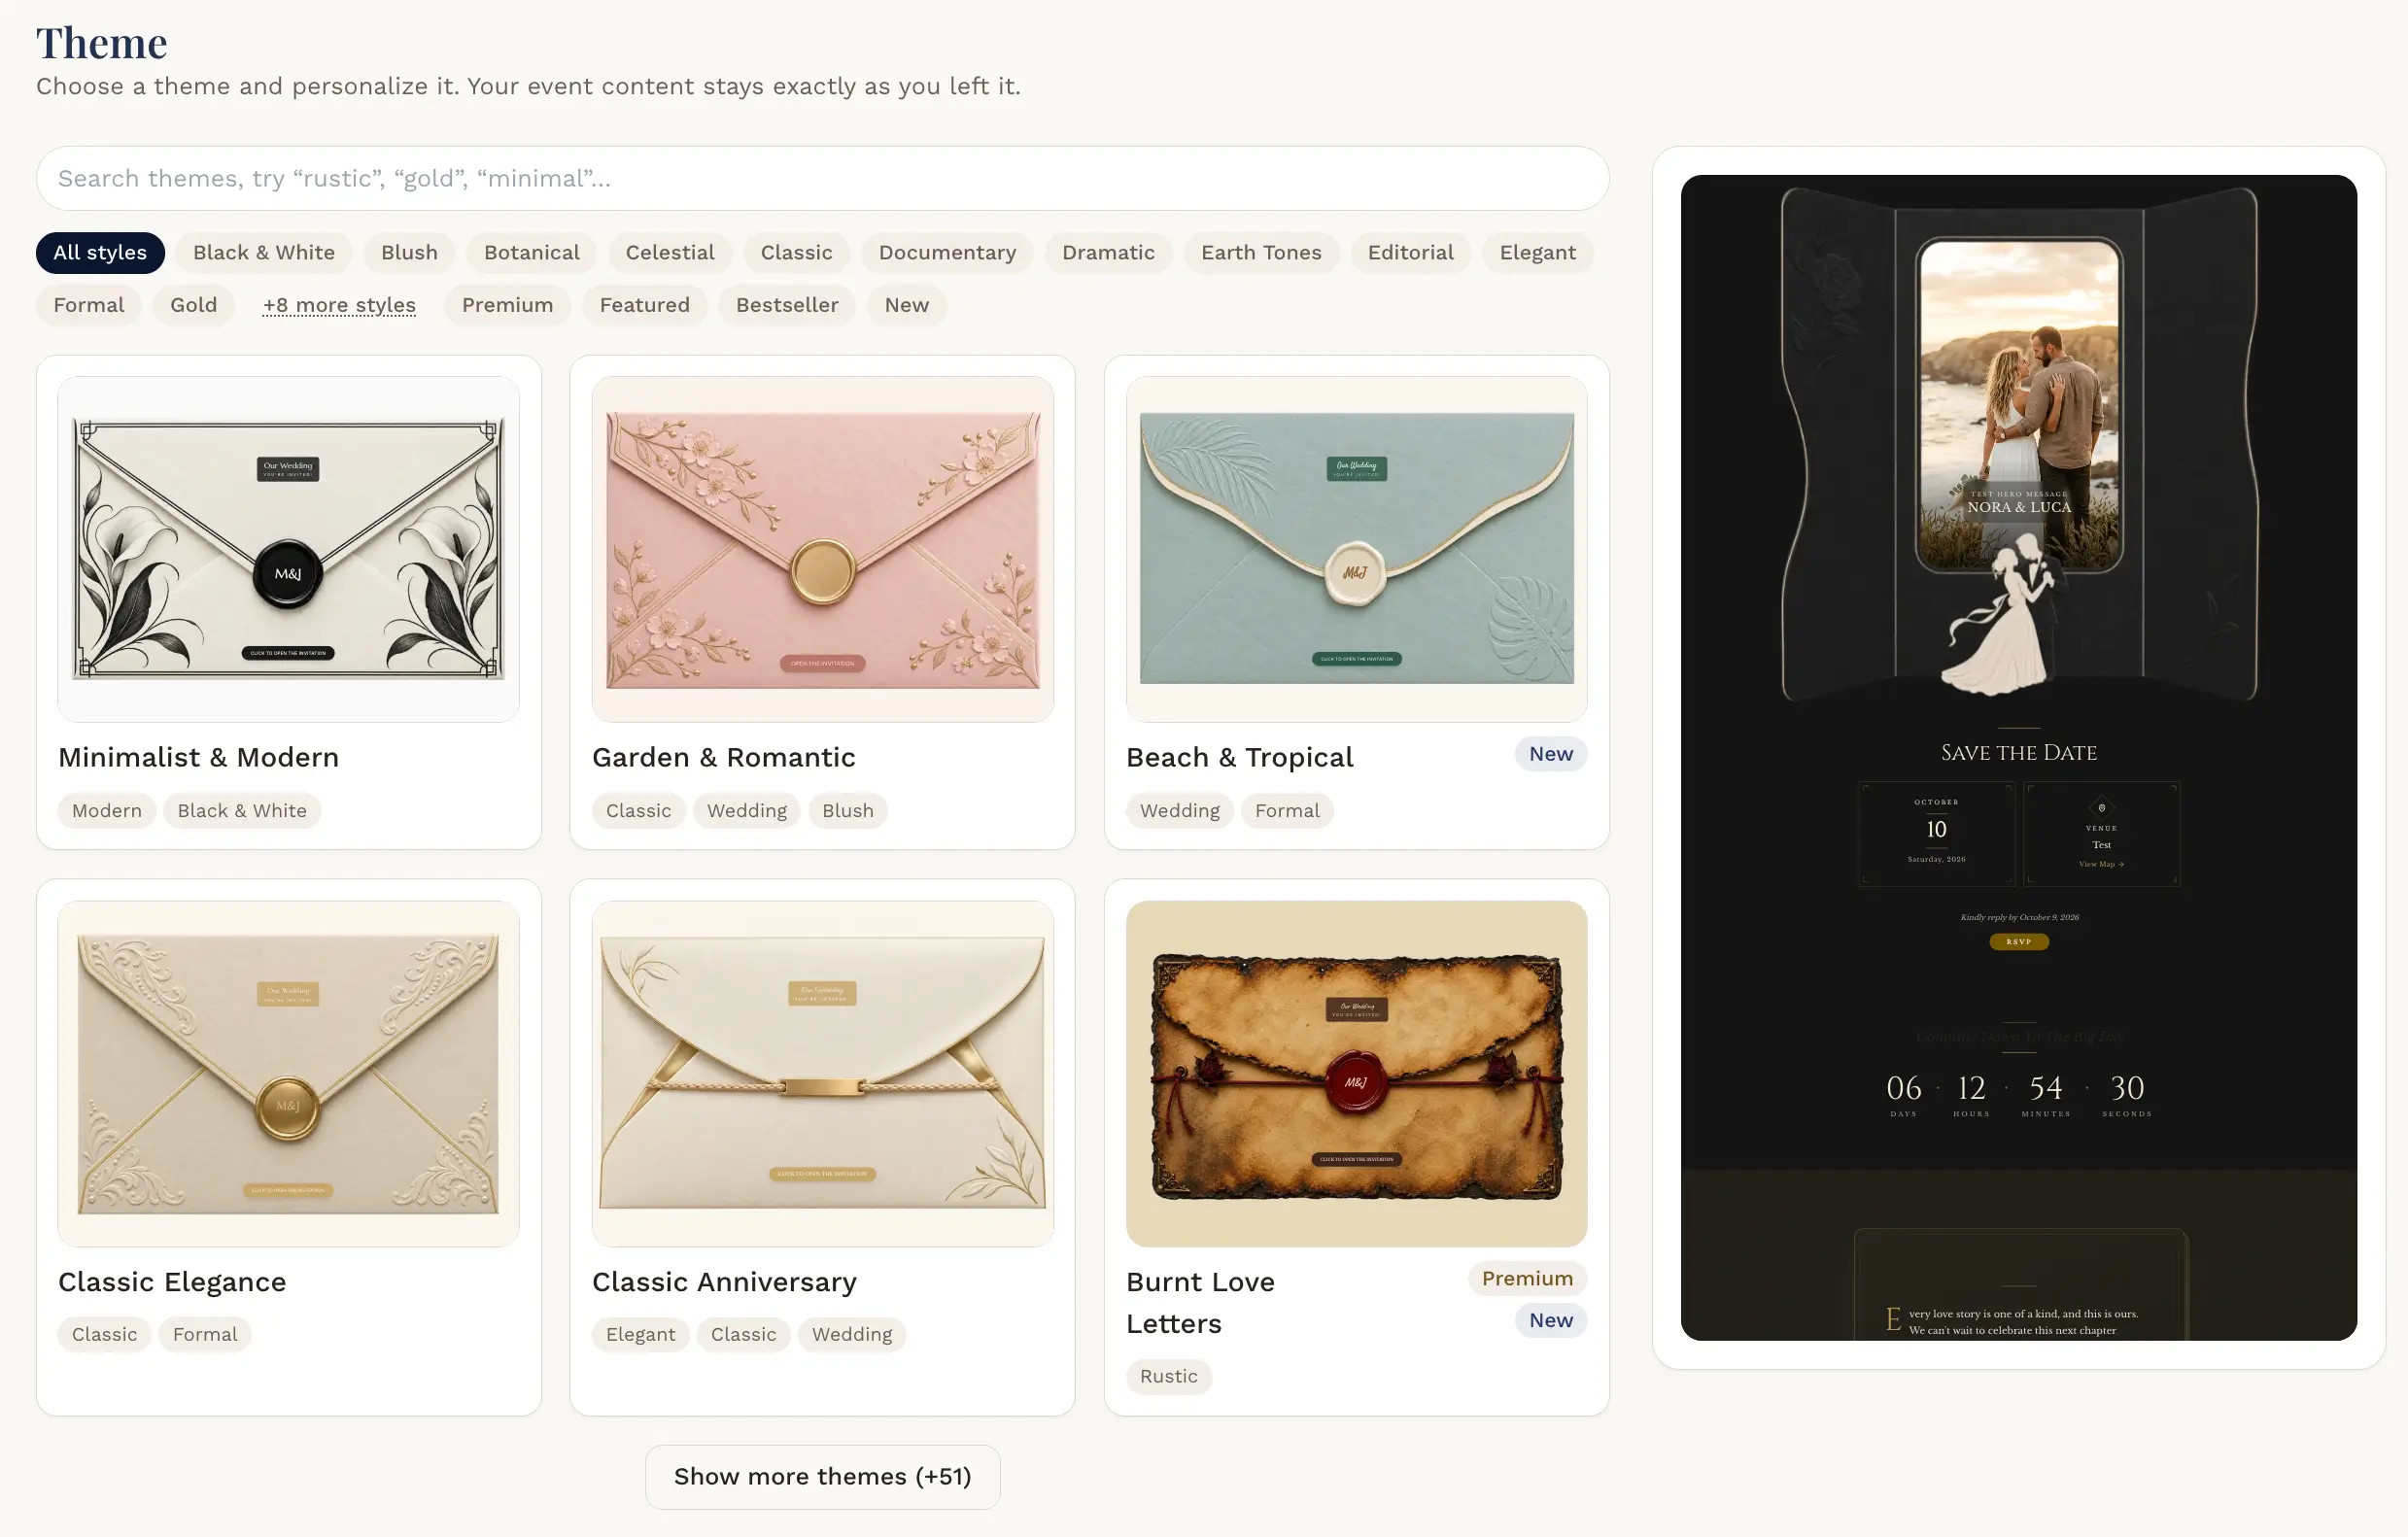
    1. 1Choose a theme
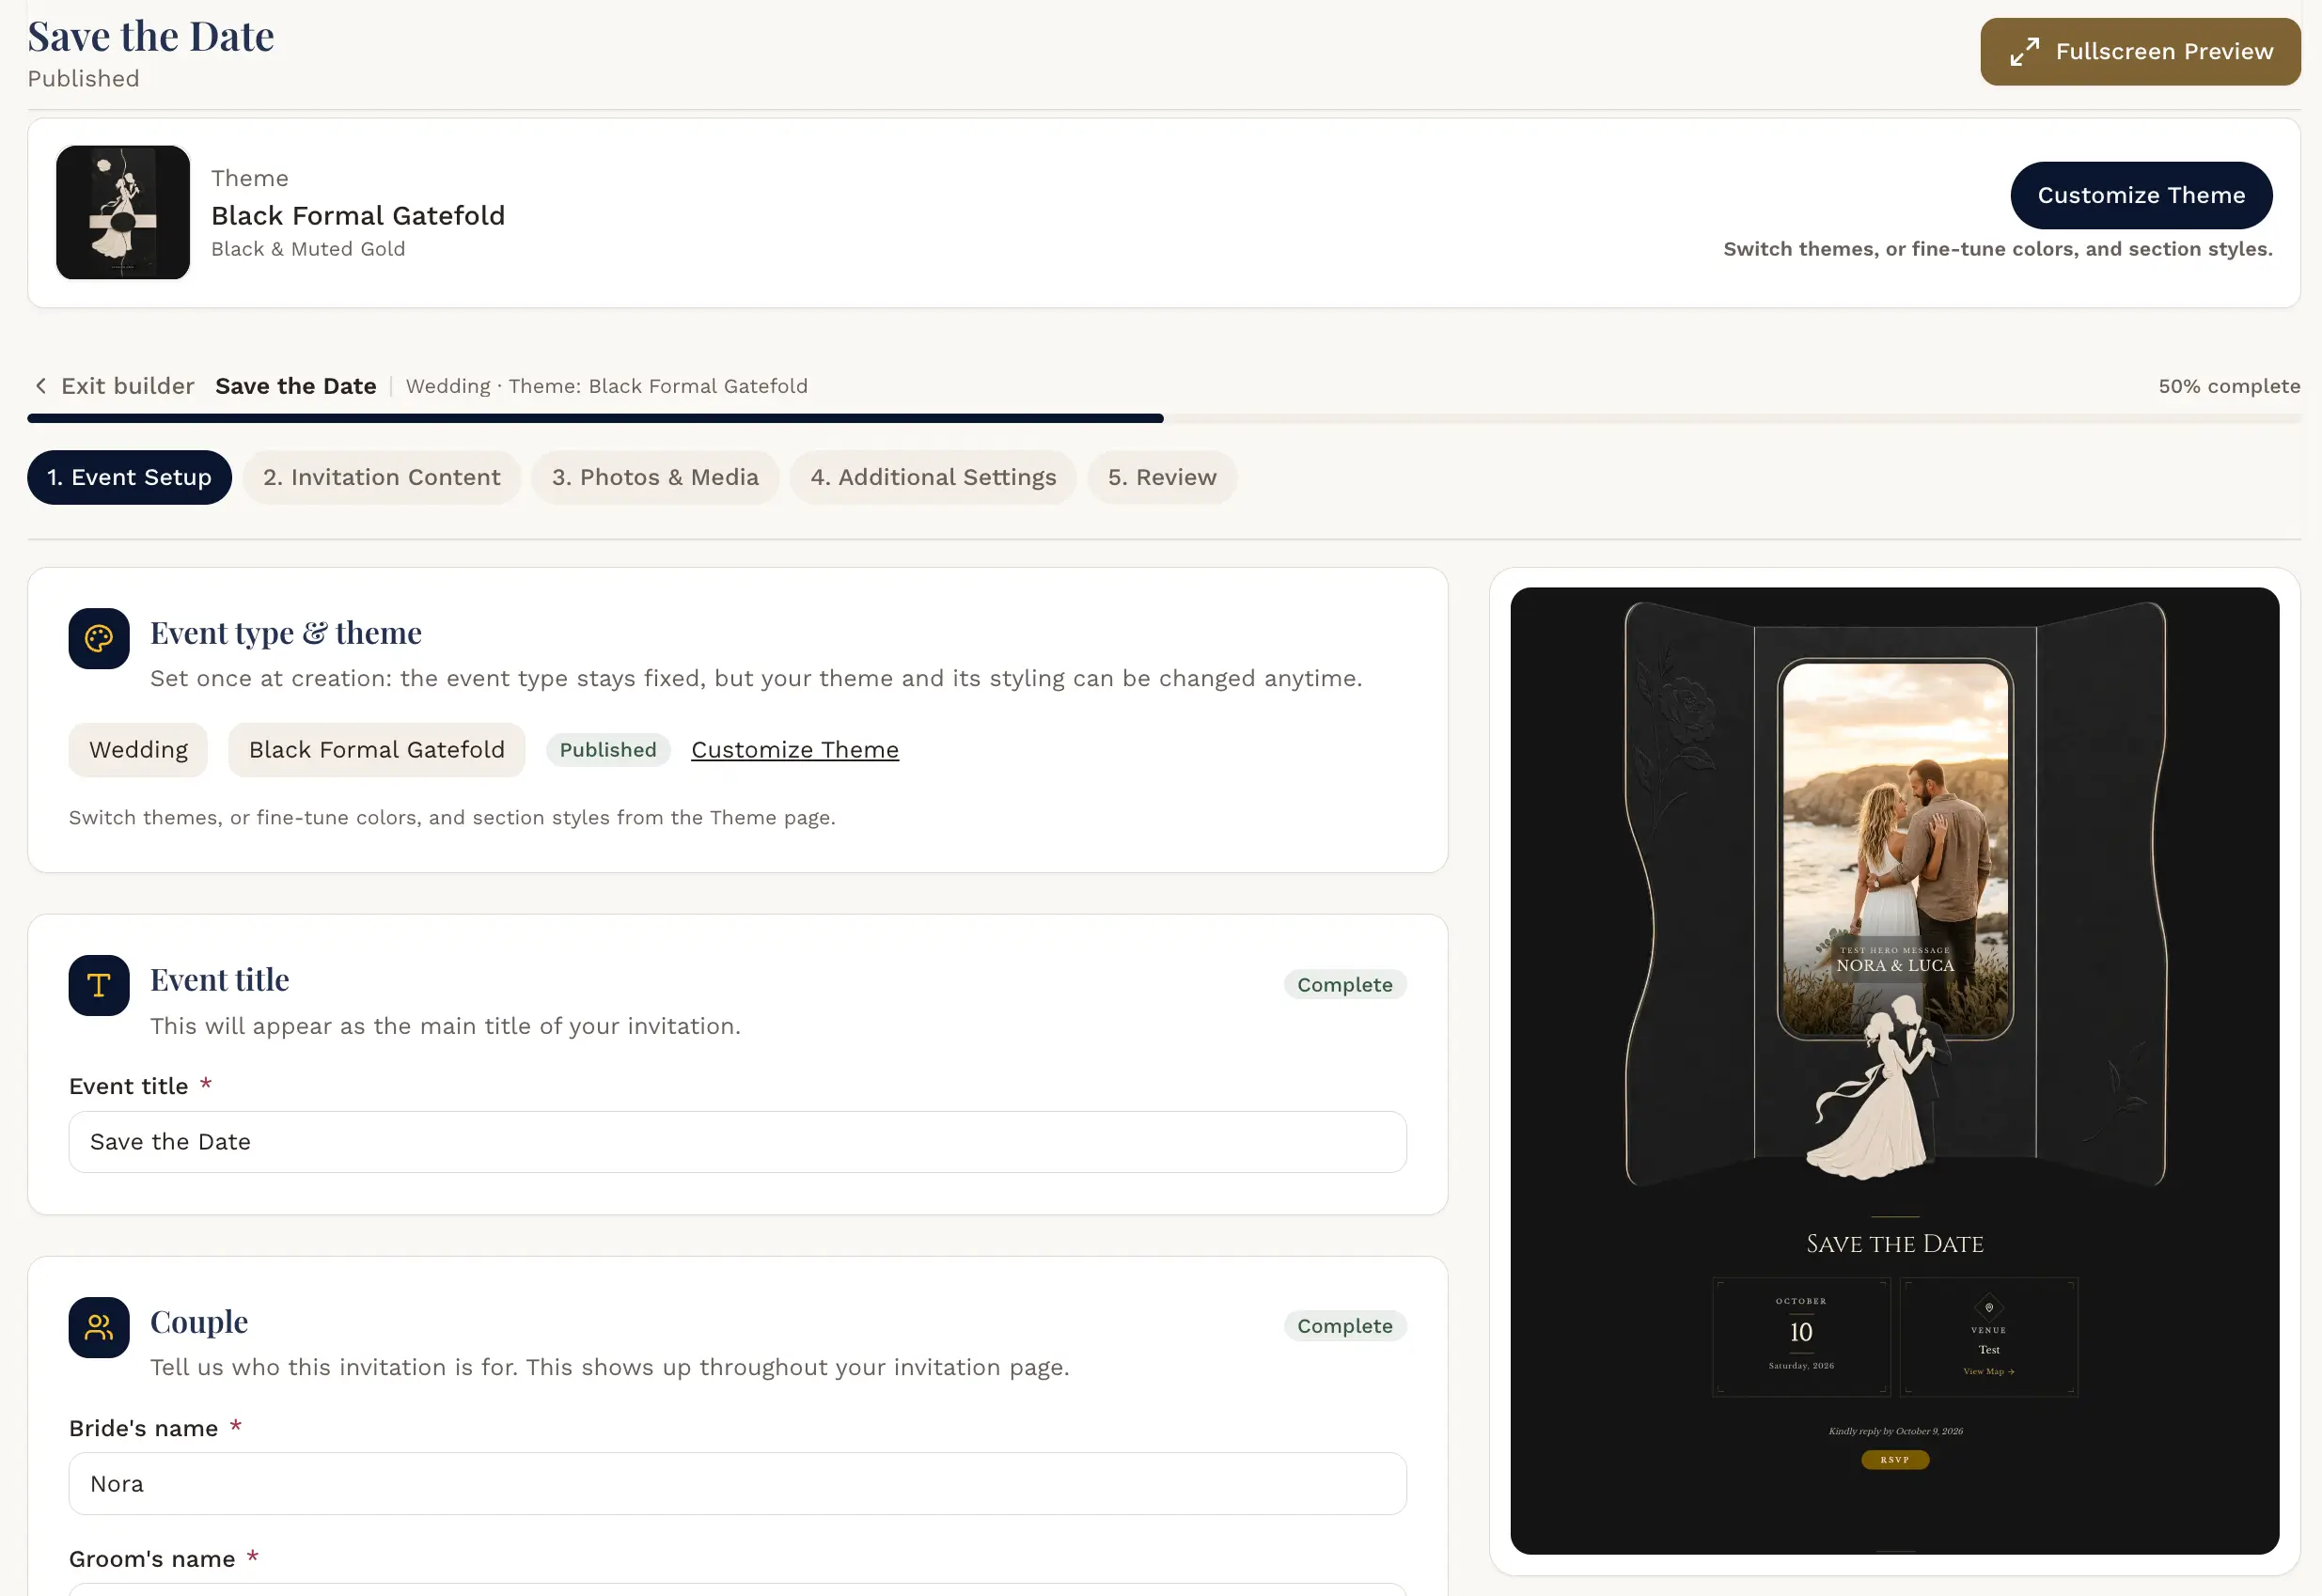
    2. 2Add your details
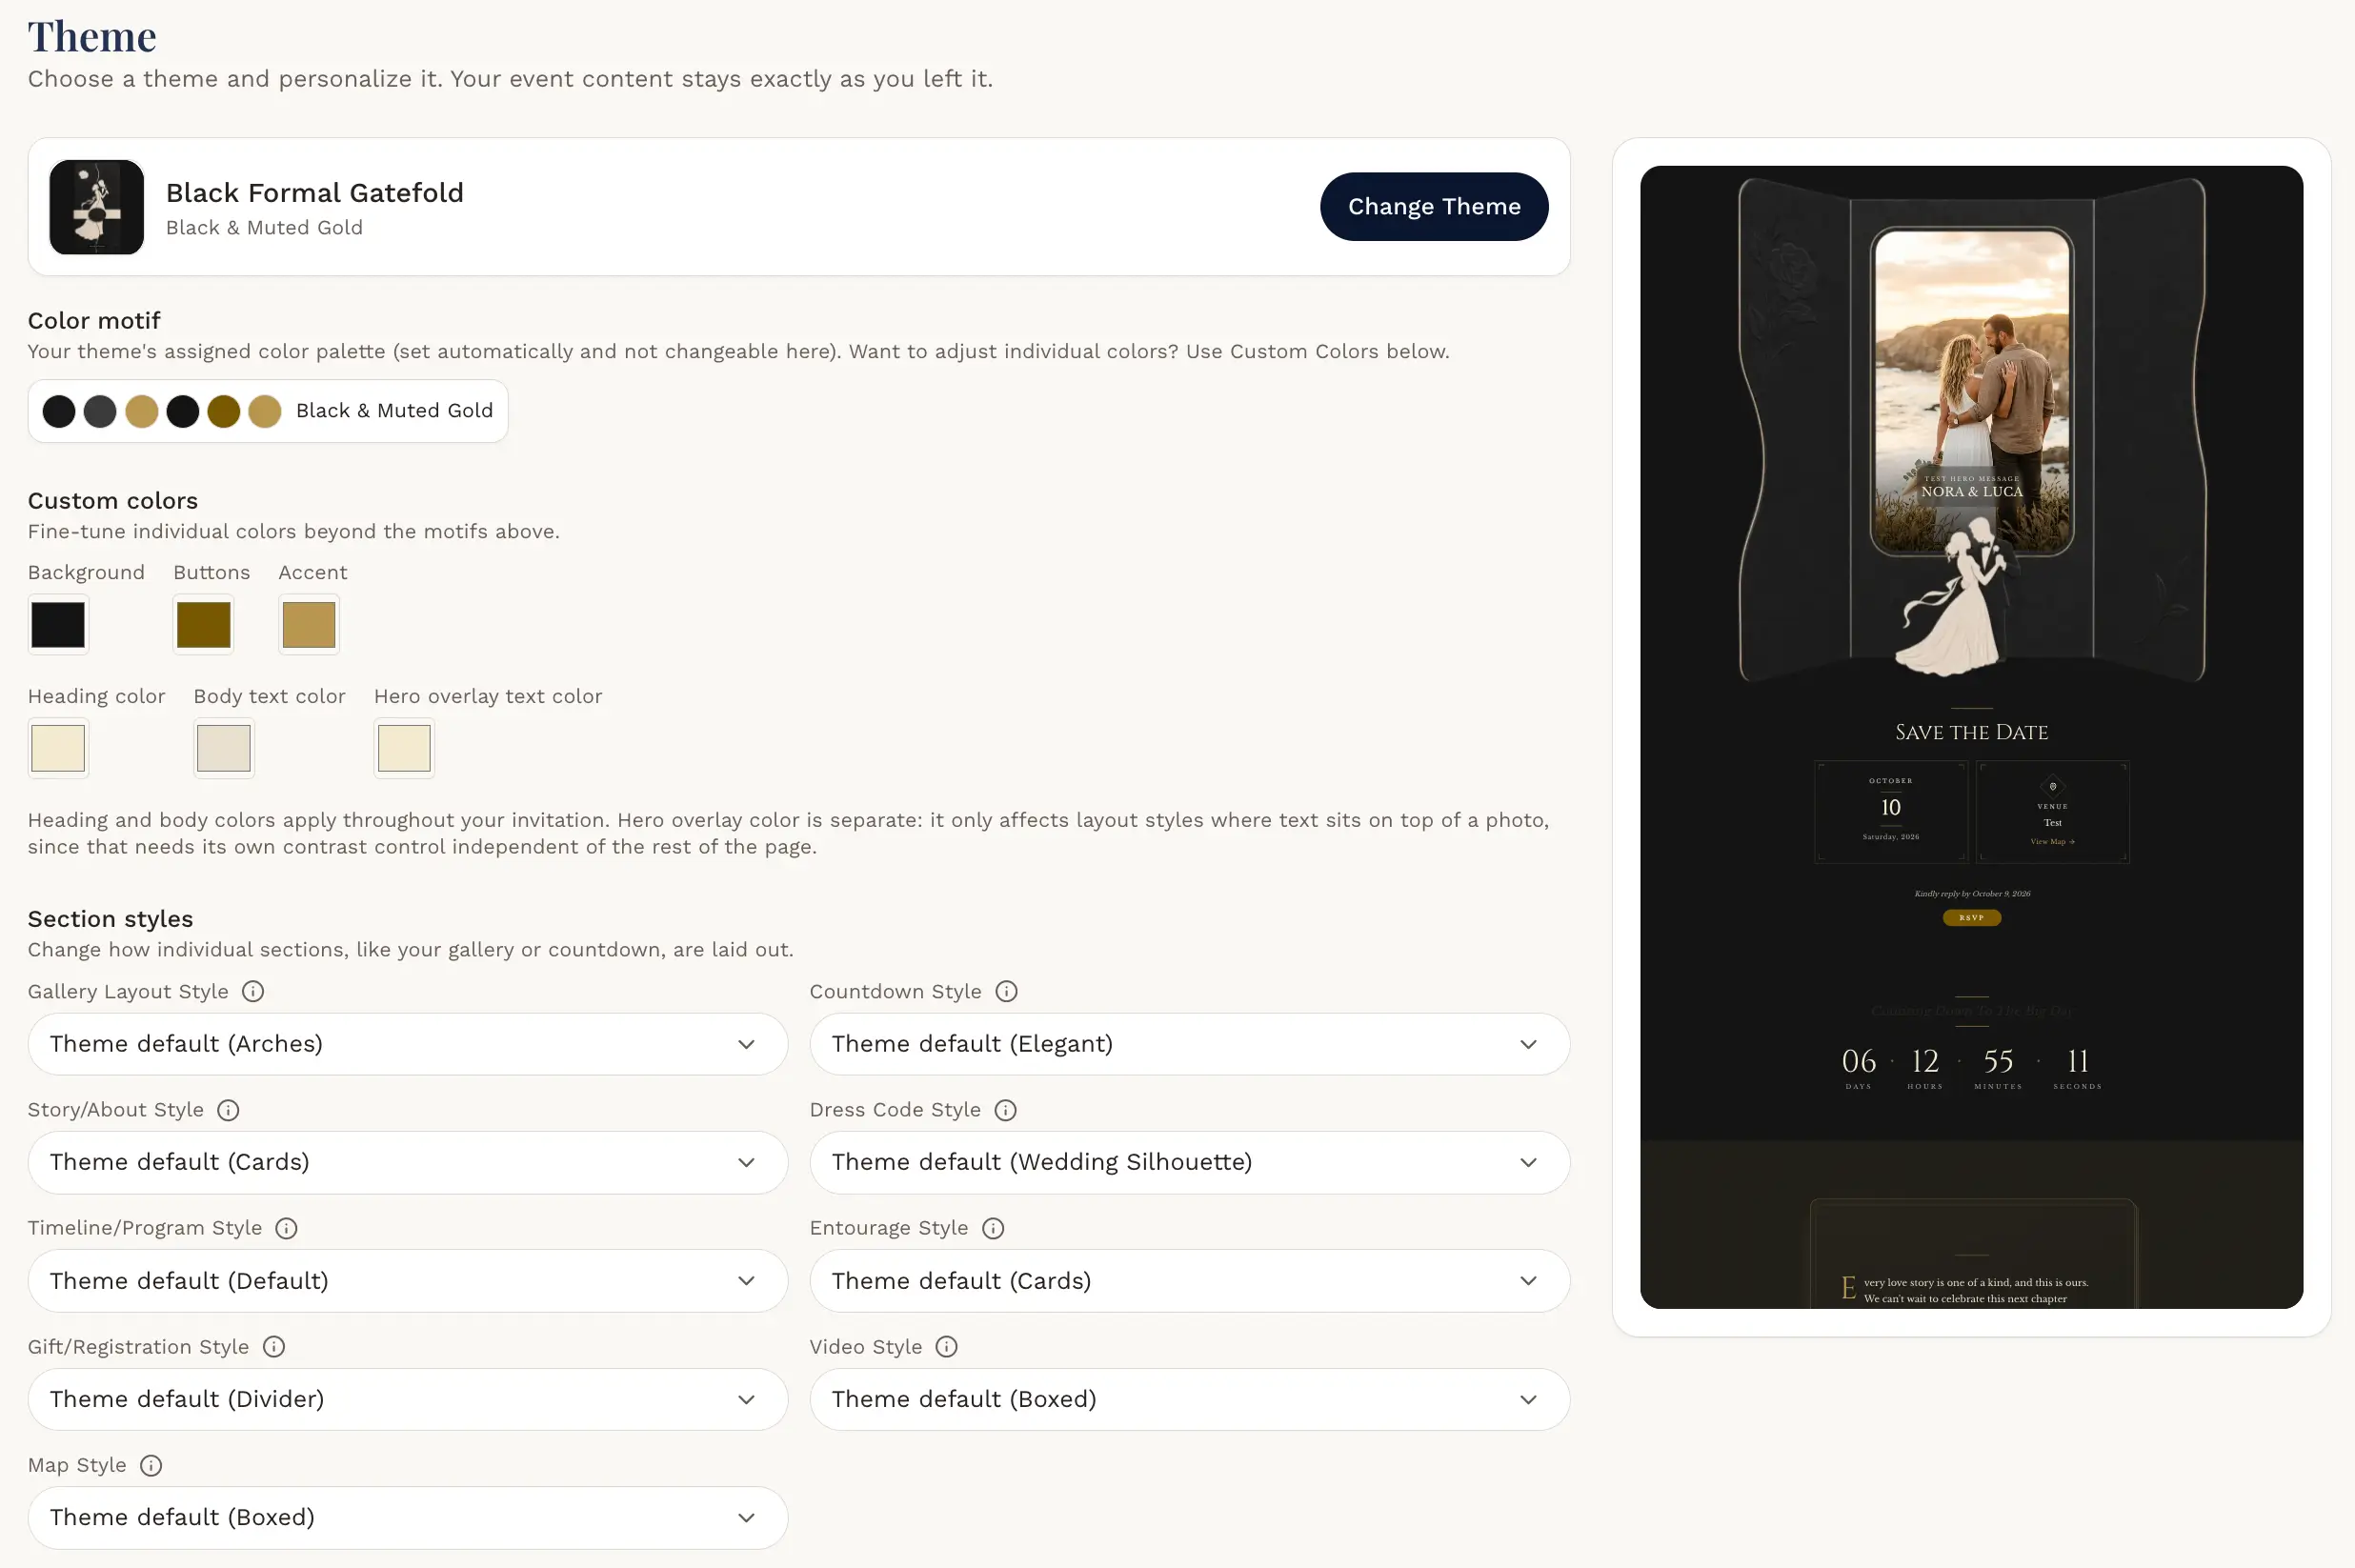
    3. 3Personalize
    The Graevents theme gallery
    Editing the invitation details
    Customizing theme colors, fonts and sections
  3. 3Step 3

    Publish & Share

    When your invitation is ready, publish it and share it with your guests through a link or a printable QR invitation card.

    graevents.com/our-dayCopy

    QR code

    Scan to see every detail

    Share
    YOU'RE INVITEDAnna&SamuelSaturday · October 10Scan to view the invitation & RSVPPrintable QR card
  4. 4Step 4

    Manage Your Guests

    Keep everything organized in one place. Collect RSVPs, manage your guest list, group attendees, scan QR check-ins, and enjoy event games and activities.

Every screen

Works beautifully on all screen sizes

Your guests can open your invitation on a phone, a tablet, or a computer, and it looks great on every one.

Ready to start?

Start Creating Your Invitation

Free to design and preview.